This post contains affiliate links please see the Disclosure and Privacy Policy page for full disclosures here.
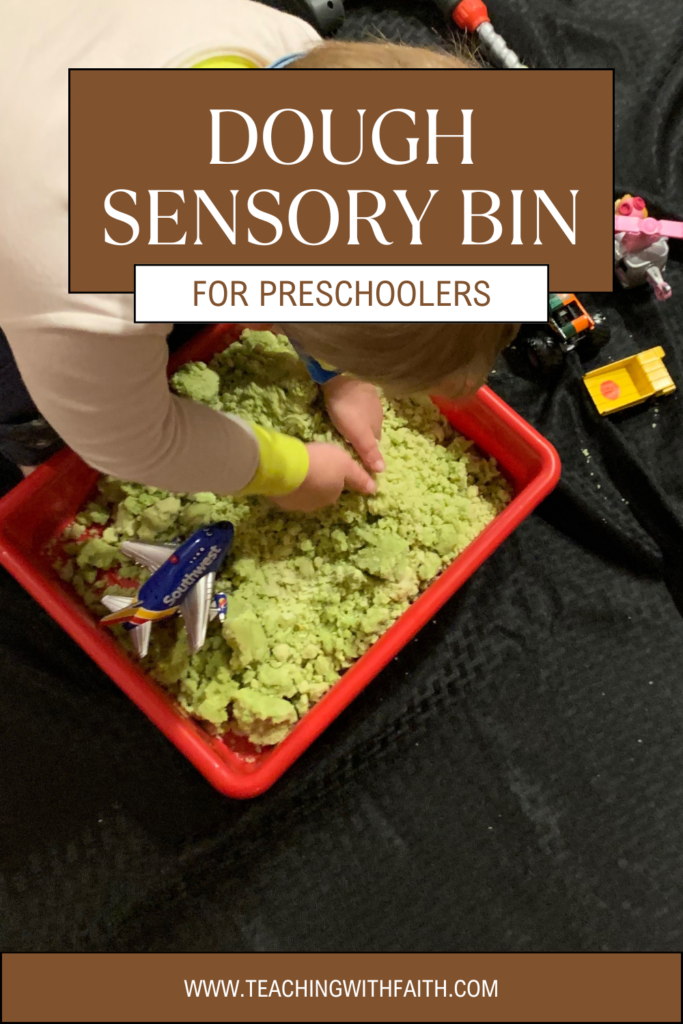
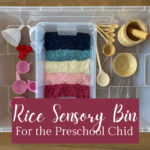
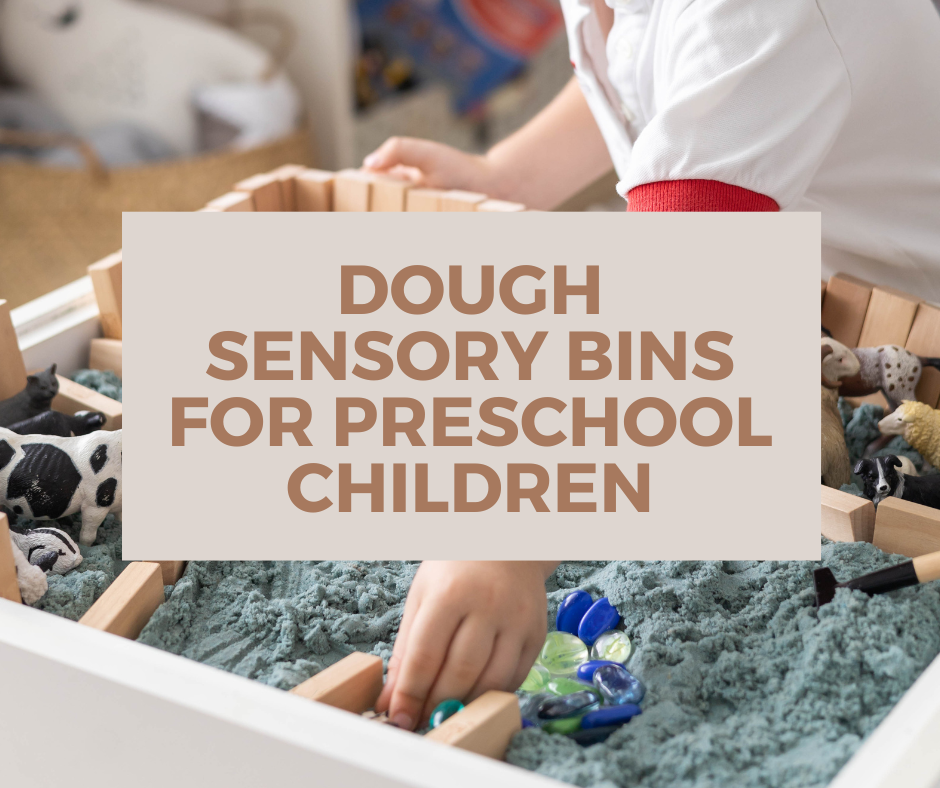
Dough sensory bins can be an easy bin to set up for a preschool child that provides tons of messy fun. This bin can be made to your standards, so it can be more like playdough or kinetic sand or a much looser texture. It is up to you and your child to decide how the activity should go. If you’d like to read about the rest of my favorite sensory bins, you can click here.
How to setup a dough sensory bin
Safety note: If your child is still putting things in their mouth, please make sure you prebake the flour for 5-10 min at 350 degrees before making the dough.
I love making my dough for sensory bins. I usually start by mixing everything in a bowl before dumping it into the sensory bin. I don’t follow exact measurements, but I typically add a few cups of flour into the bowl and create a small well in the middle without going all the way to the bottom. If I’m coloring the dough, I mix about half to three-fourths of a cup of cooking oil in a separate bowl and add a good amount of food coloring to it. I’ve found that mixing the food coloring into the oil helps it spread evenly throughout the flour. Then, I pour the colored oil into the well I made. This is when things get messy! I use my hands to mix the flour and oil. Once it’s combined, I decide if I need more oil to achieve the right texture. I keep adding oil and food coloring until I get the color and texture I’m looking for. I usually aim for a kinetic sand-like texture, where it holds together when I pick up a clump but still crumbles easily.
How to contain the mess
This dough sensory bin can be messy if your child loves to make a mess, but it also can be fairly clean if your preschool child will just work in the bin. My kids usually end up with some of it on the floor. We use a tablecloth or shower curtain under their area to keep it contained.
This dough sensory bin would also work by putting the child and the bin into a bigger bin. When it is done, you can take the bigger bin to the trash.
A side note is that this bin is not a good bin to vacuum up. I usually tell everyone to just vacuum up the mess, but this one can mess up your vacuum because it has oil that will stick to the vacuum. You can have your child use a small broom and dustpan to clean it up on their own.
Dough sensory bin themes
One of my favorite dough sensory bins for a preschool child themes is birthday cake! You don’t dye the dough any color, so it is the color of a vanilla cake- you could make it look like chocolate by dyeing it brown. I add sprinkles, cupcake holders, and birthday candles! They can make as many cupcakes as they want! My kids played with this during co-op for a long time and then even at home for a while!!
Another great theme is the ice cream shop. You can dye the dough into different colors if you want (note: it will get mixed together!). Add some ice cream cones, sprinkles, and scoops! Let them set up their own ice cream shop! They can make ice cream cones over and over again. You could even extend this to older children by having them “sell” the ice cream to each other and you. This can add some math skills to the play.
Learning sensory bins with dough
One of the best learning sensory bins with dough for the preschool child is to learn how to write letters or numbers in the dough. They can use a utensil or their finger to write letters or numbers. You can give them a flashcard with the letter or number for them to figure out how to write it, or you can write it first and have them trace over it or next to what you wrote.
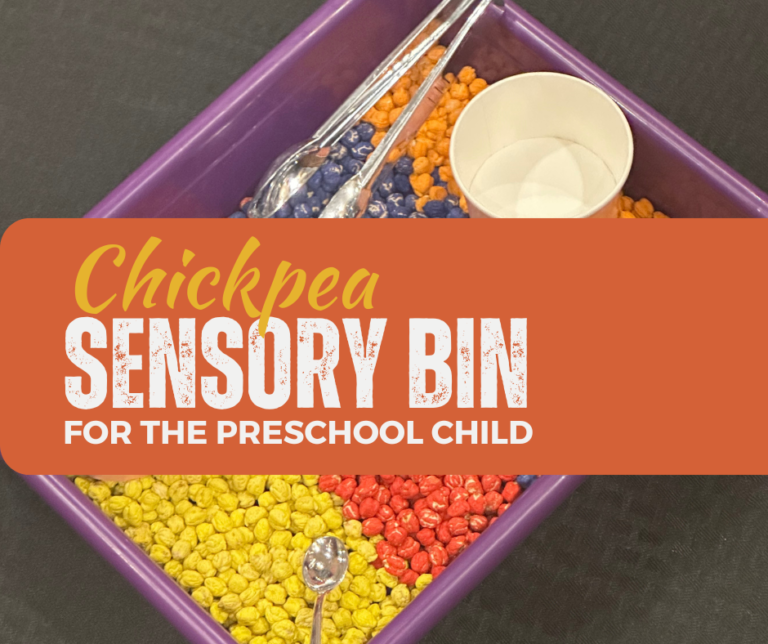
Another great way to incorporate learning is through my Alphabet Sensory Mats and Bins. You can hide the cards in the chickpeas and have your child find and match all the pictures. As they find the pictures, you can state what the picture is and emphasize the beginning sound of the picture.